

Project Description – Fibreglass Waterproofing System
Observe – Review plans for layout and shower sizes, flanges are installed correctly, shower rose and taps / mixers sufficient area for waterproof seal.
Prepare – Clean area free of debris.
Apply – Install water bar / stops, door angles, waterproofing membranes and sealants.
Conclusion – Removal of rubbish, working areas are cleaned, documented report of completed works.
Application Process
Application can take up to 1 – 3 days, depending on how large the project it may take longer. We will prepare area before applying fibreglass system to internal wet areas. Use joint sealant / joint fillet on all wall / floor joints, nail / screw heads and flanges (ensuring penetration flanges are installed correctly). Install fibreglass and fibreglass resin, apply flowcoat, acrylic coat to shower walls and wall penetrations.
Features
- Strong
- Long Lasting
- Seamless
- Durable
Products Required
- Fibreglass matting
- Fibreglass Resin
- Flow coat (color optional)
- Joint Sealant
- Acrylic Membrane for shower / bath walls
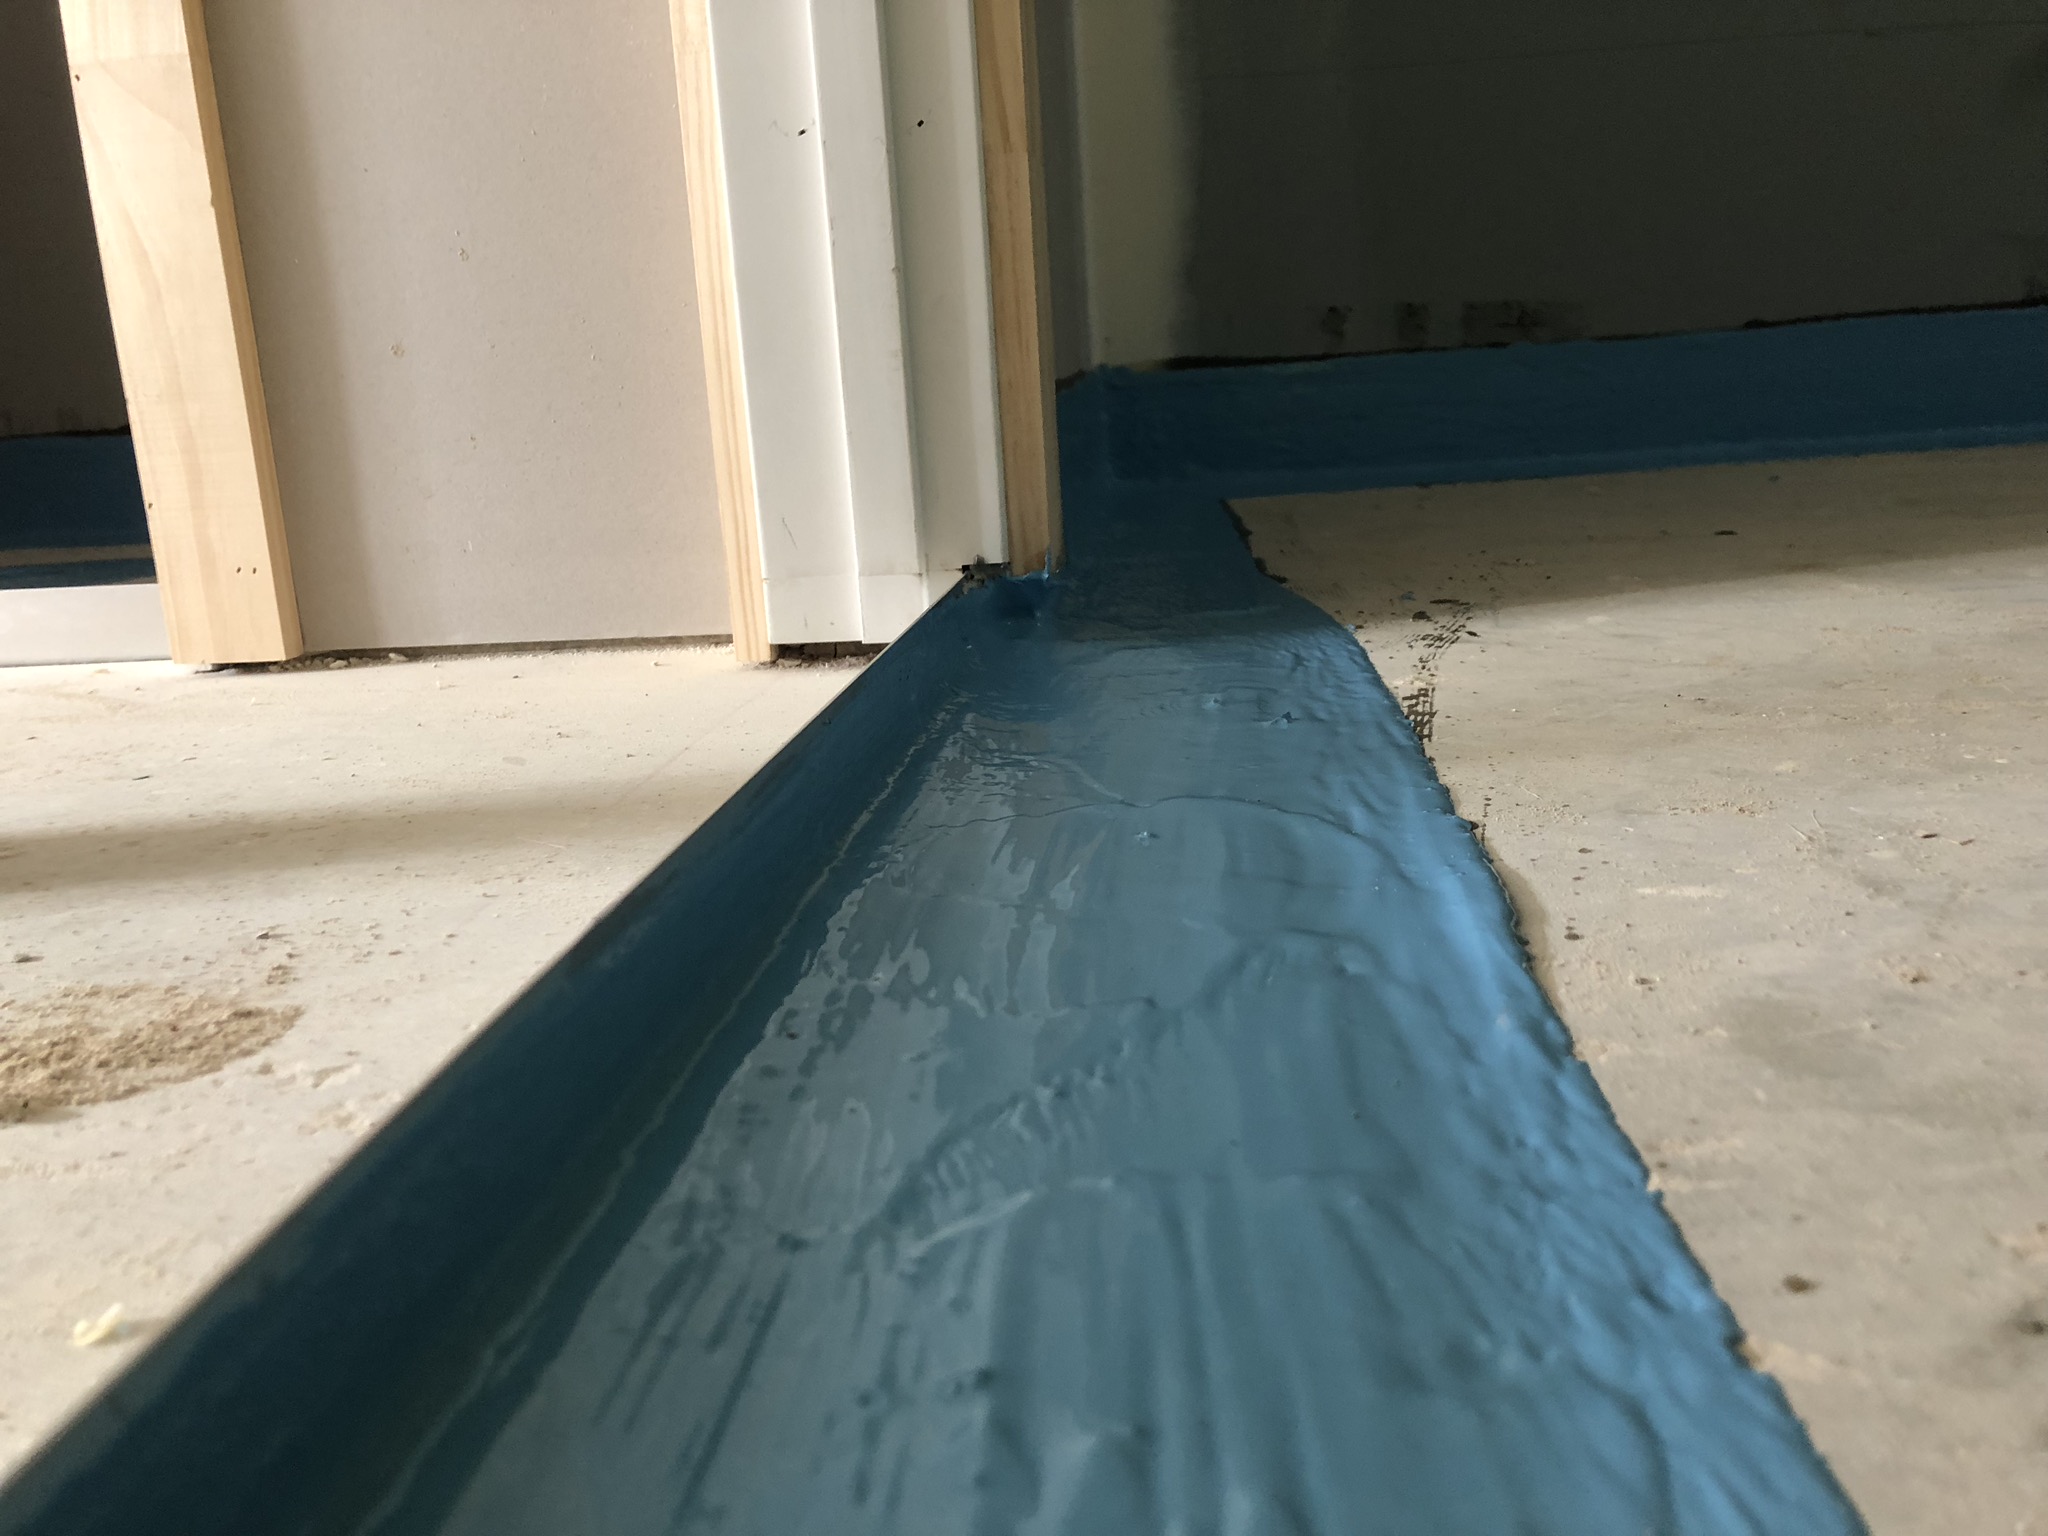
- Plastic angle (water stop)
- Aluminium angle (door angle)
Shower Niche
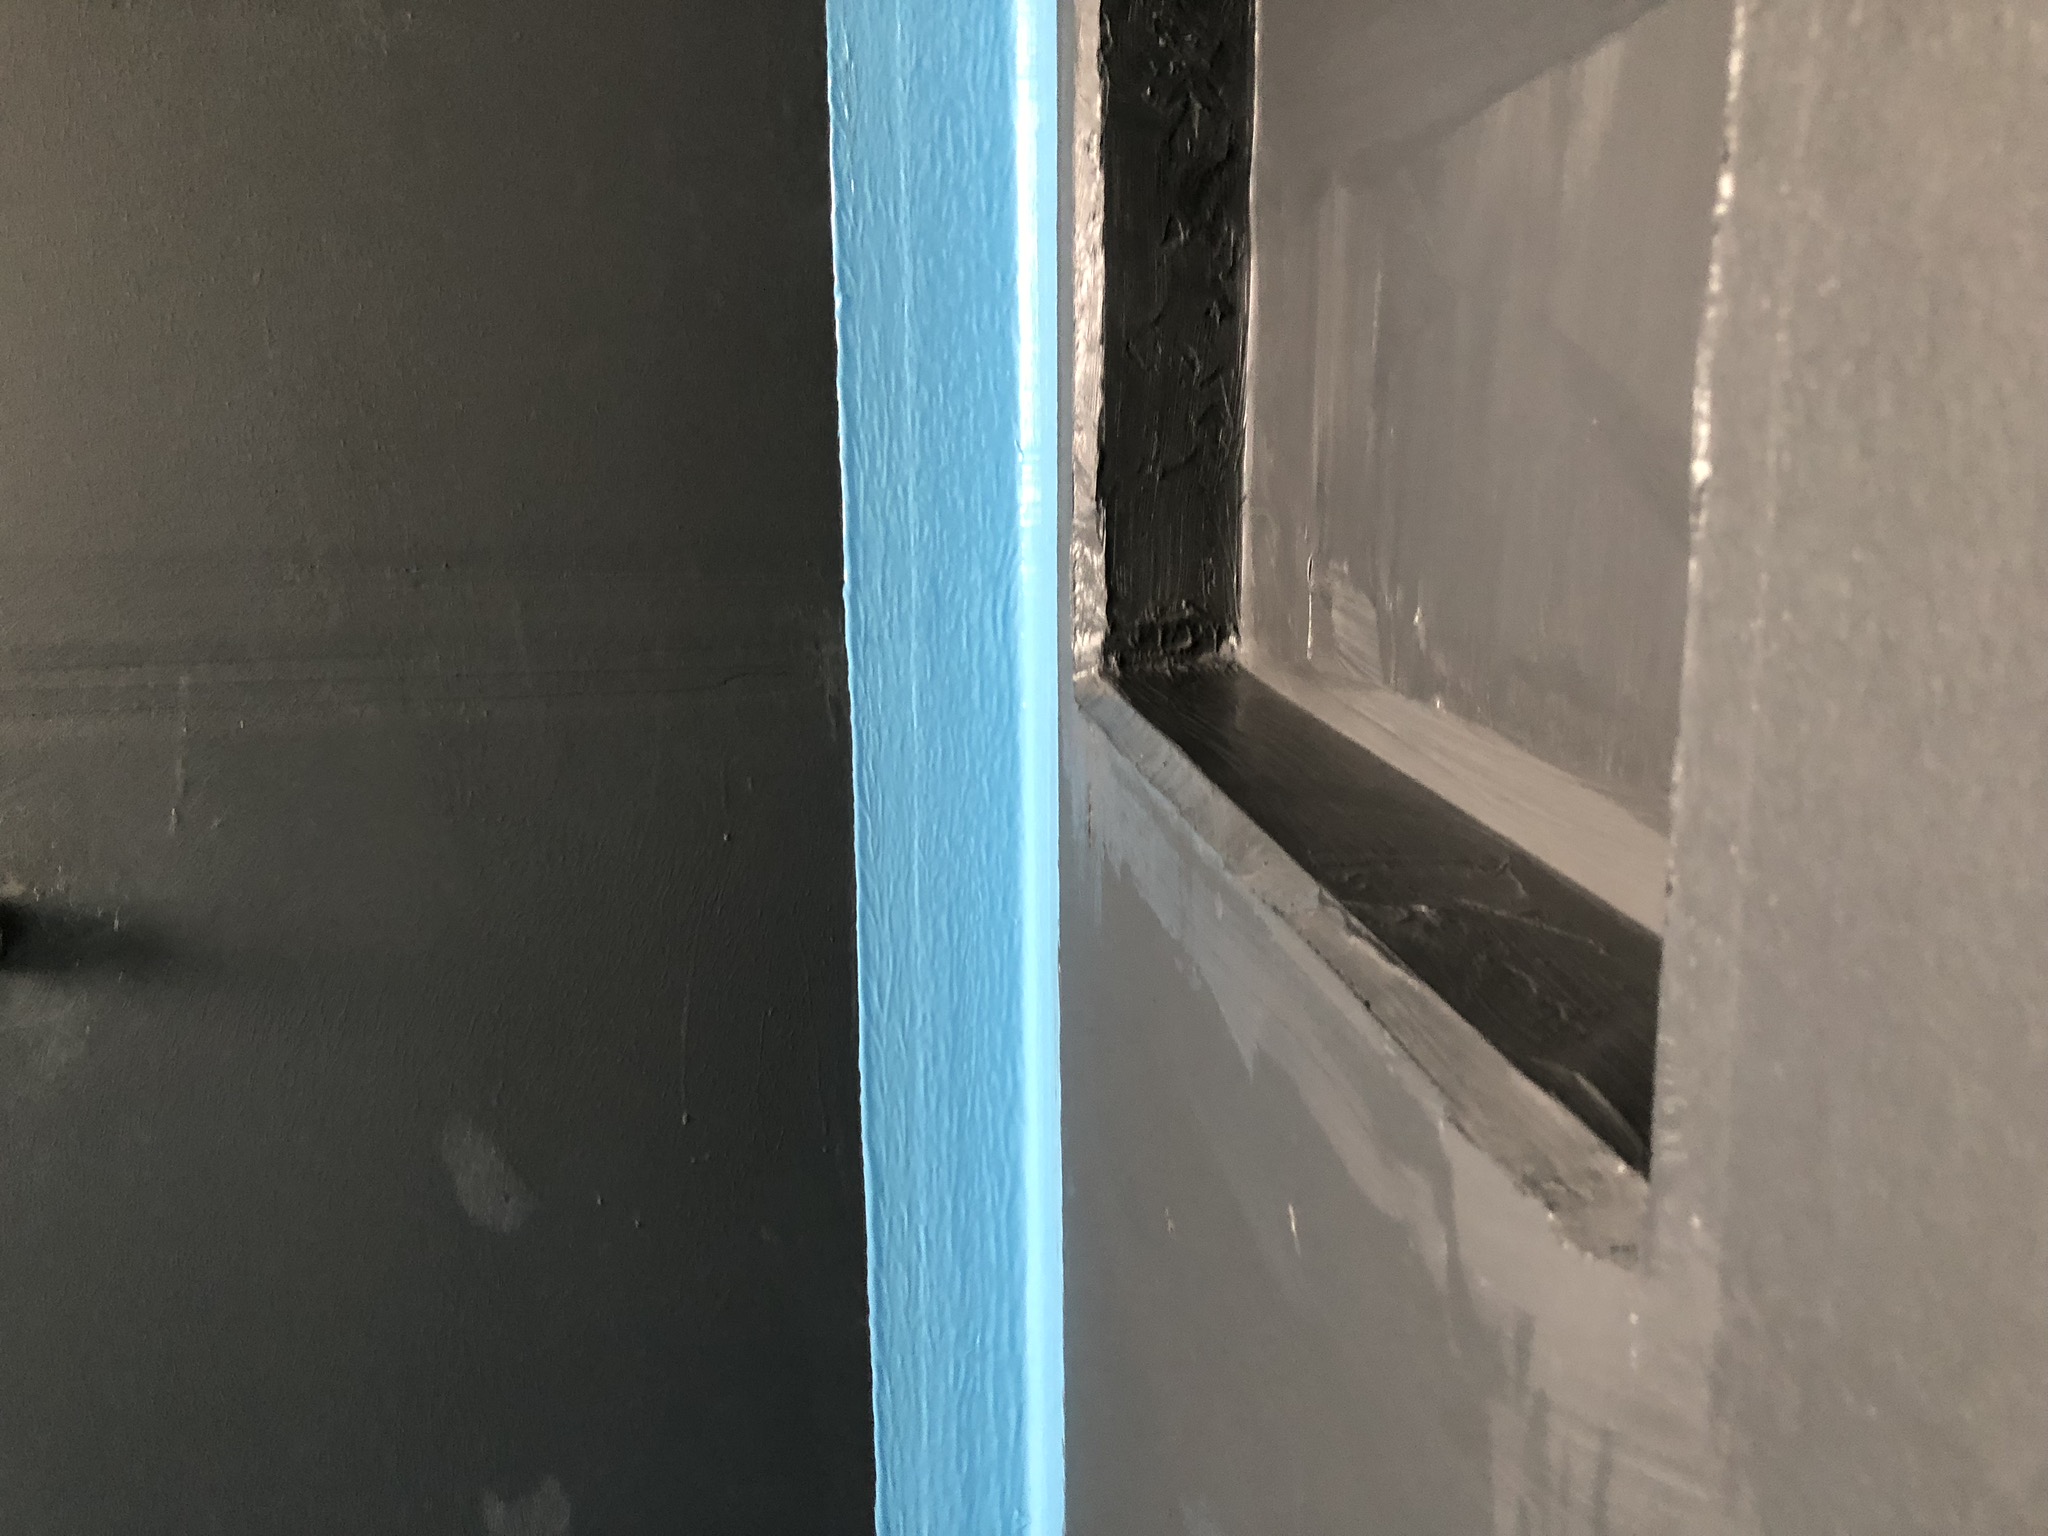
A shower niche is also called a shower recess, this is a nice feature to store shower cosmetics for skin and hair care;
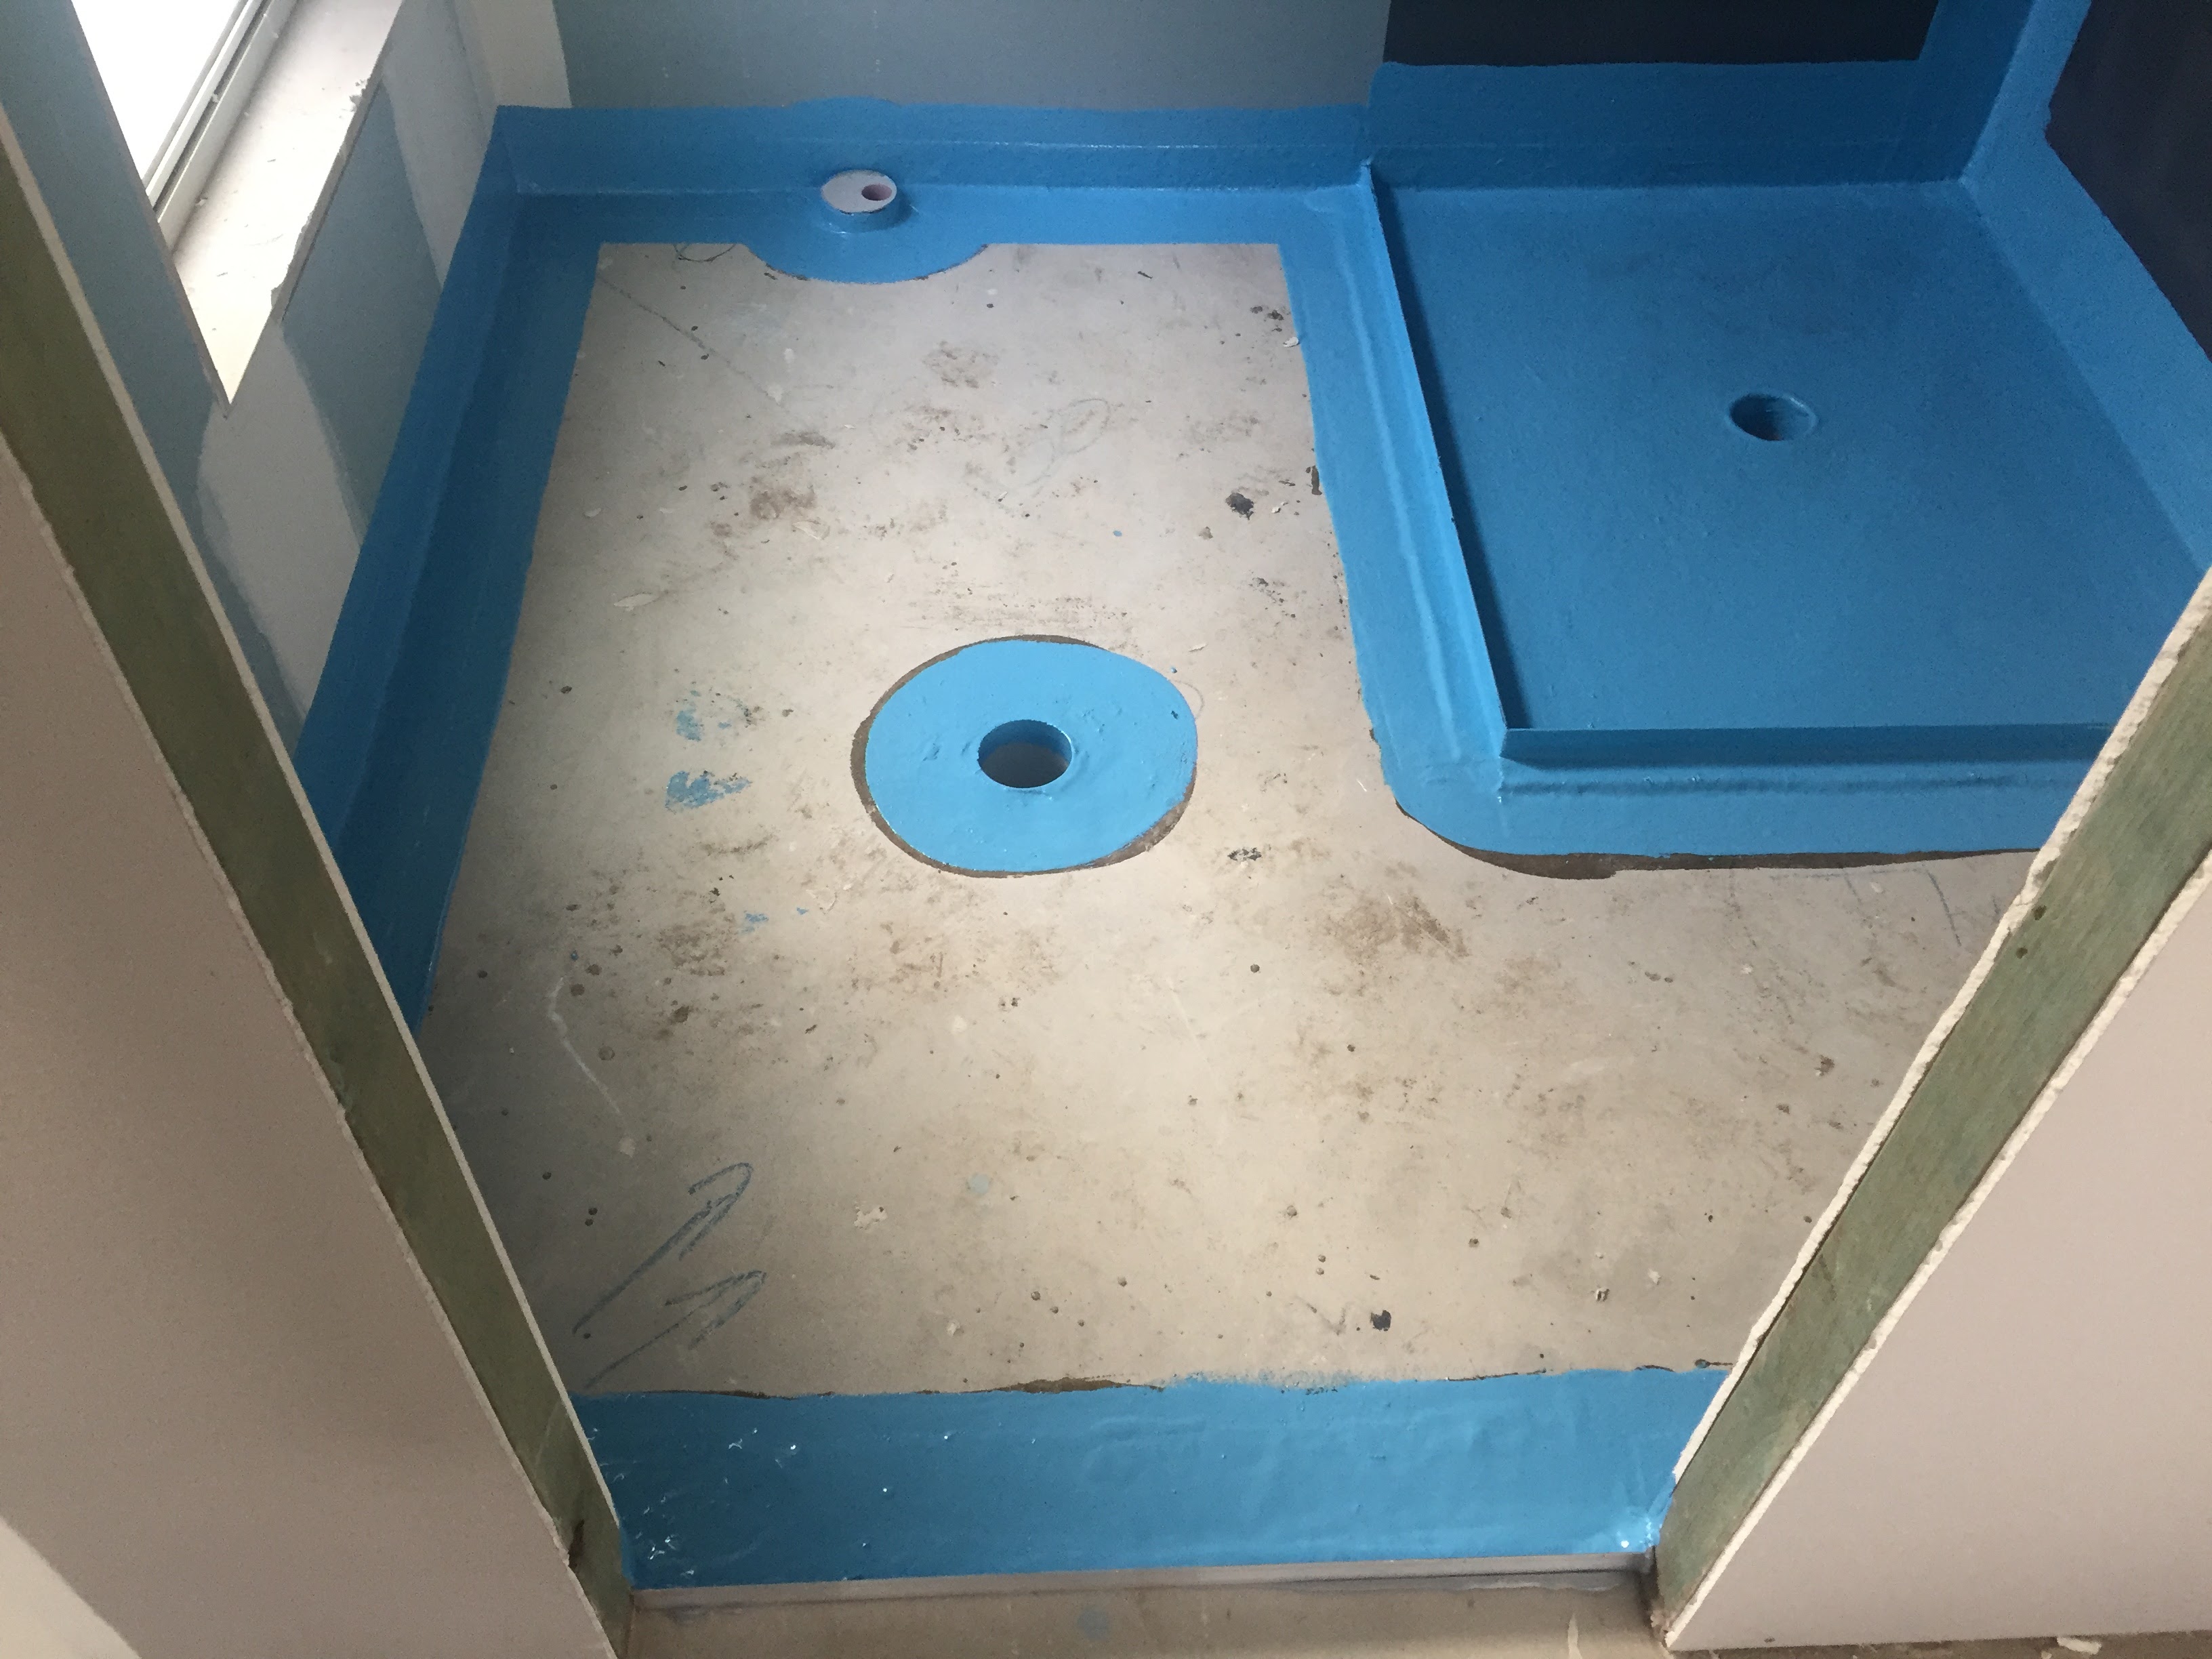
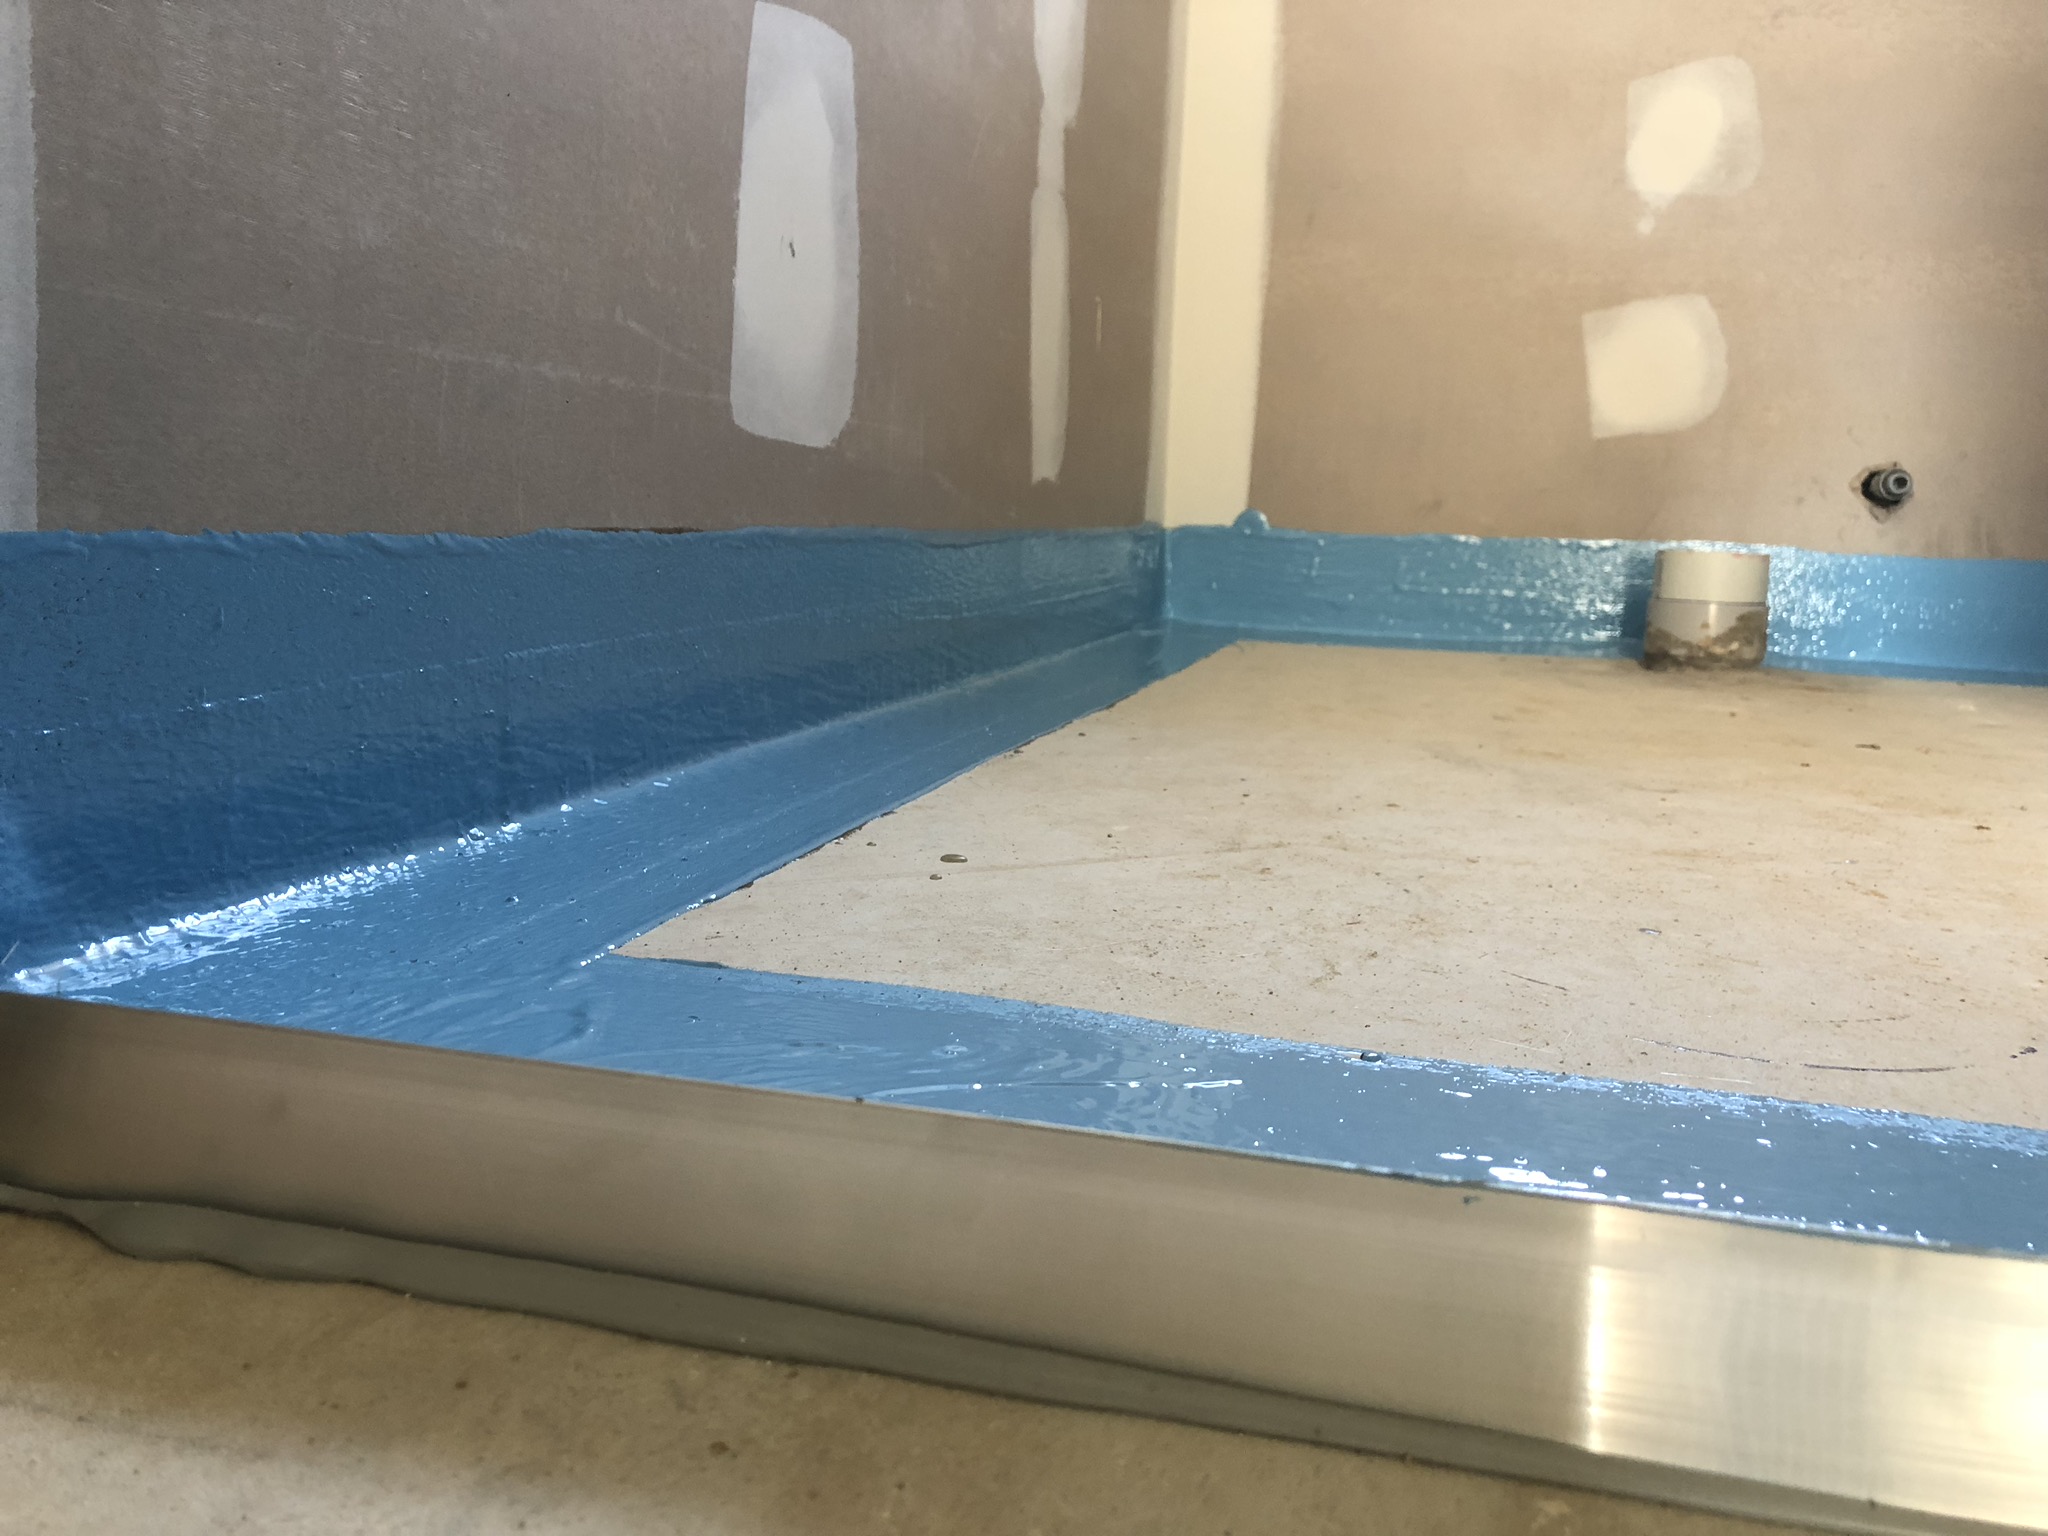
1st Coat Resin
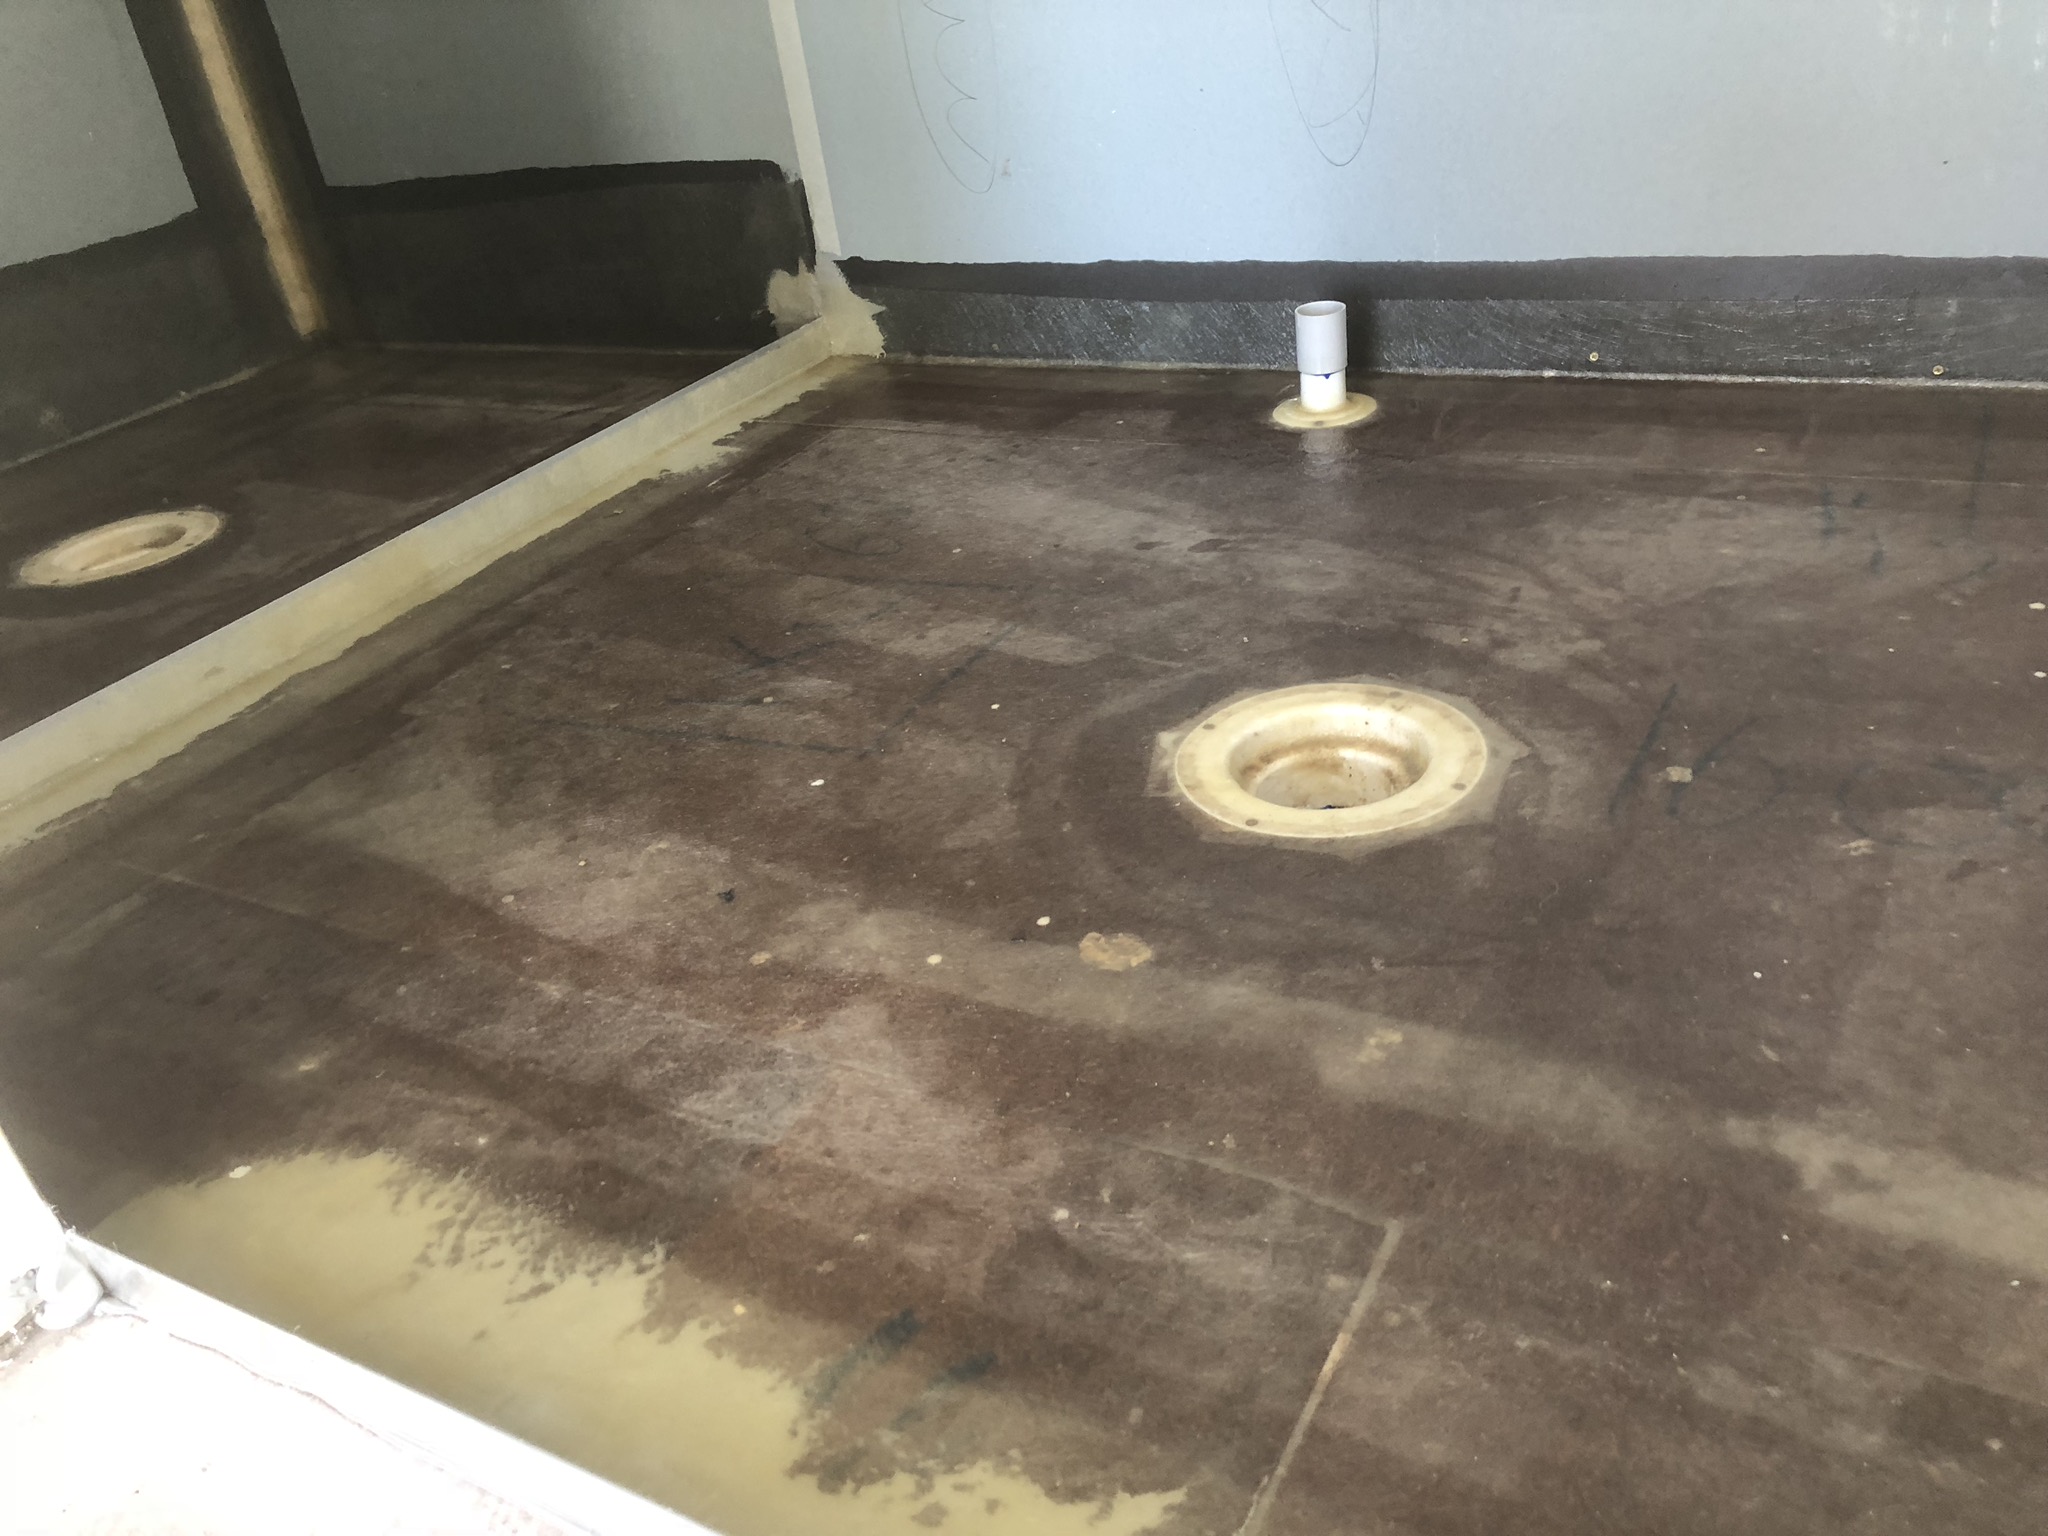
Installed angles, application of joint sealant, fibreglass matting and resin.
2nd Coat Flow Coat
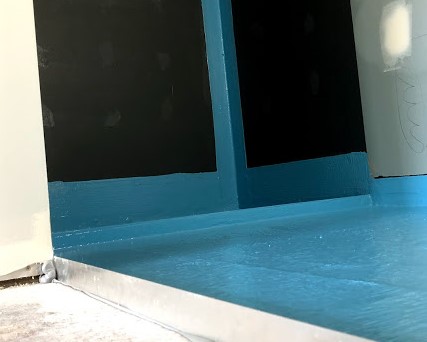
Application of flow coat and soft acrylic membrane on shower walls and tap penetrations.