
Project Description
Observe – Ensuring flanges are installed correctly, fall on balcony to floor waste or open edge balcony.
Prepare – Clean area free of debris.
Apply – Waterproofing membranes and sealants.
Conclusion – Removal of rubbish, working areas are cleaned, documented report of completed works.
Application Process
Application can take up to 3 to 4 days (weather pending). We will prepare area before applying waterproofing membrane, apply an epoxy primer on substrate to neutralise balcony surface area. Use of joint sealant on all wall / floor joints, nail / screw heads and flanges (ensuring penetration flanges are installed correctly). Apply 2 x coats of a polyurethane membrane to waterproof balcony.
Features
- Flexable
- Single Component
- Seamless
- Durable
- Easy to apply
Products Required
- Epoxy Primer
- Polyurethane Membrane
- Joint Sealant
- Joint Fillet (optional if needed)
- Acrylic (optional)
- Plastic angle (optional)
- Aluminium dress edge angle (optional)
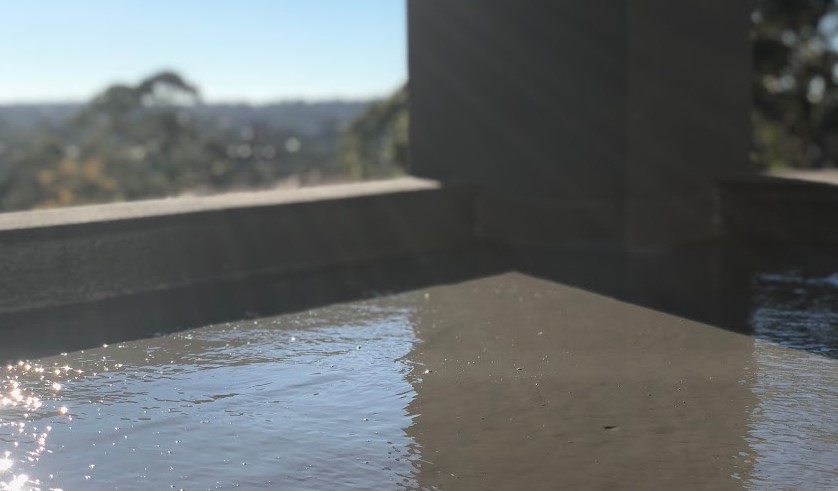
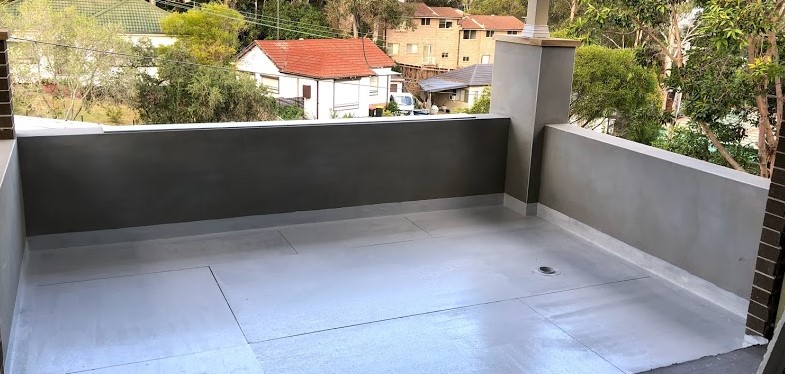
Completed Balcony
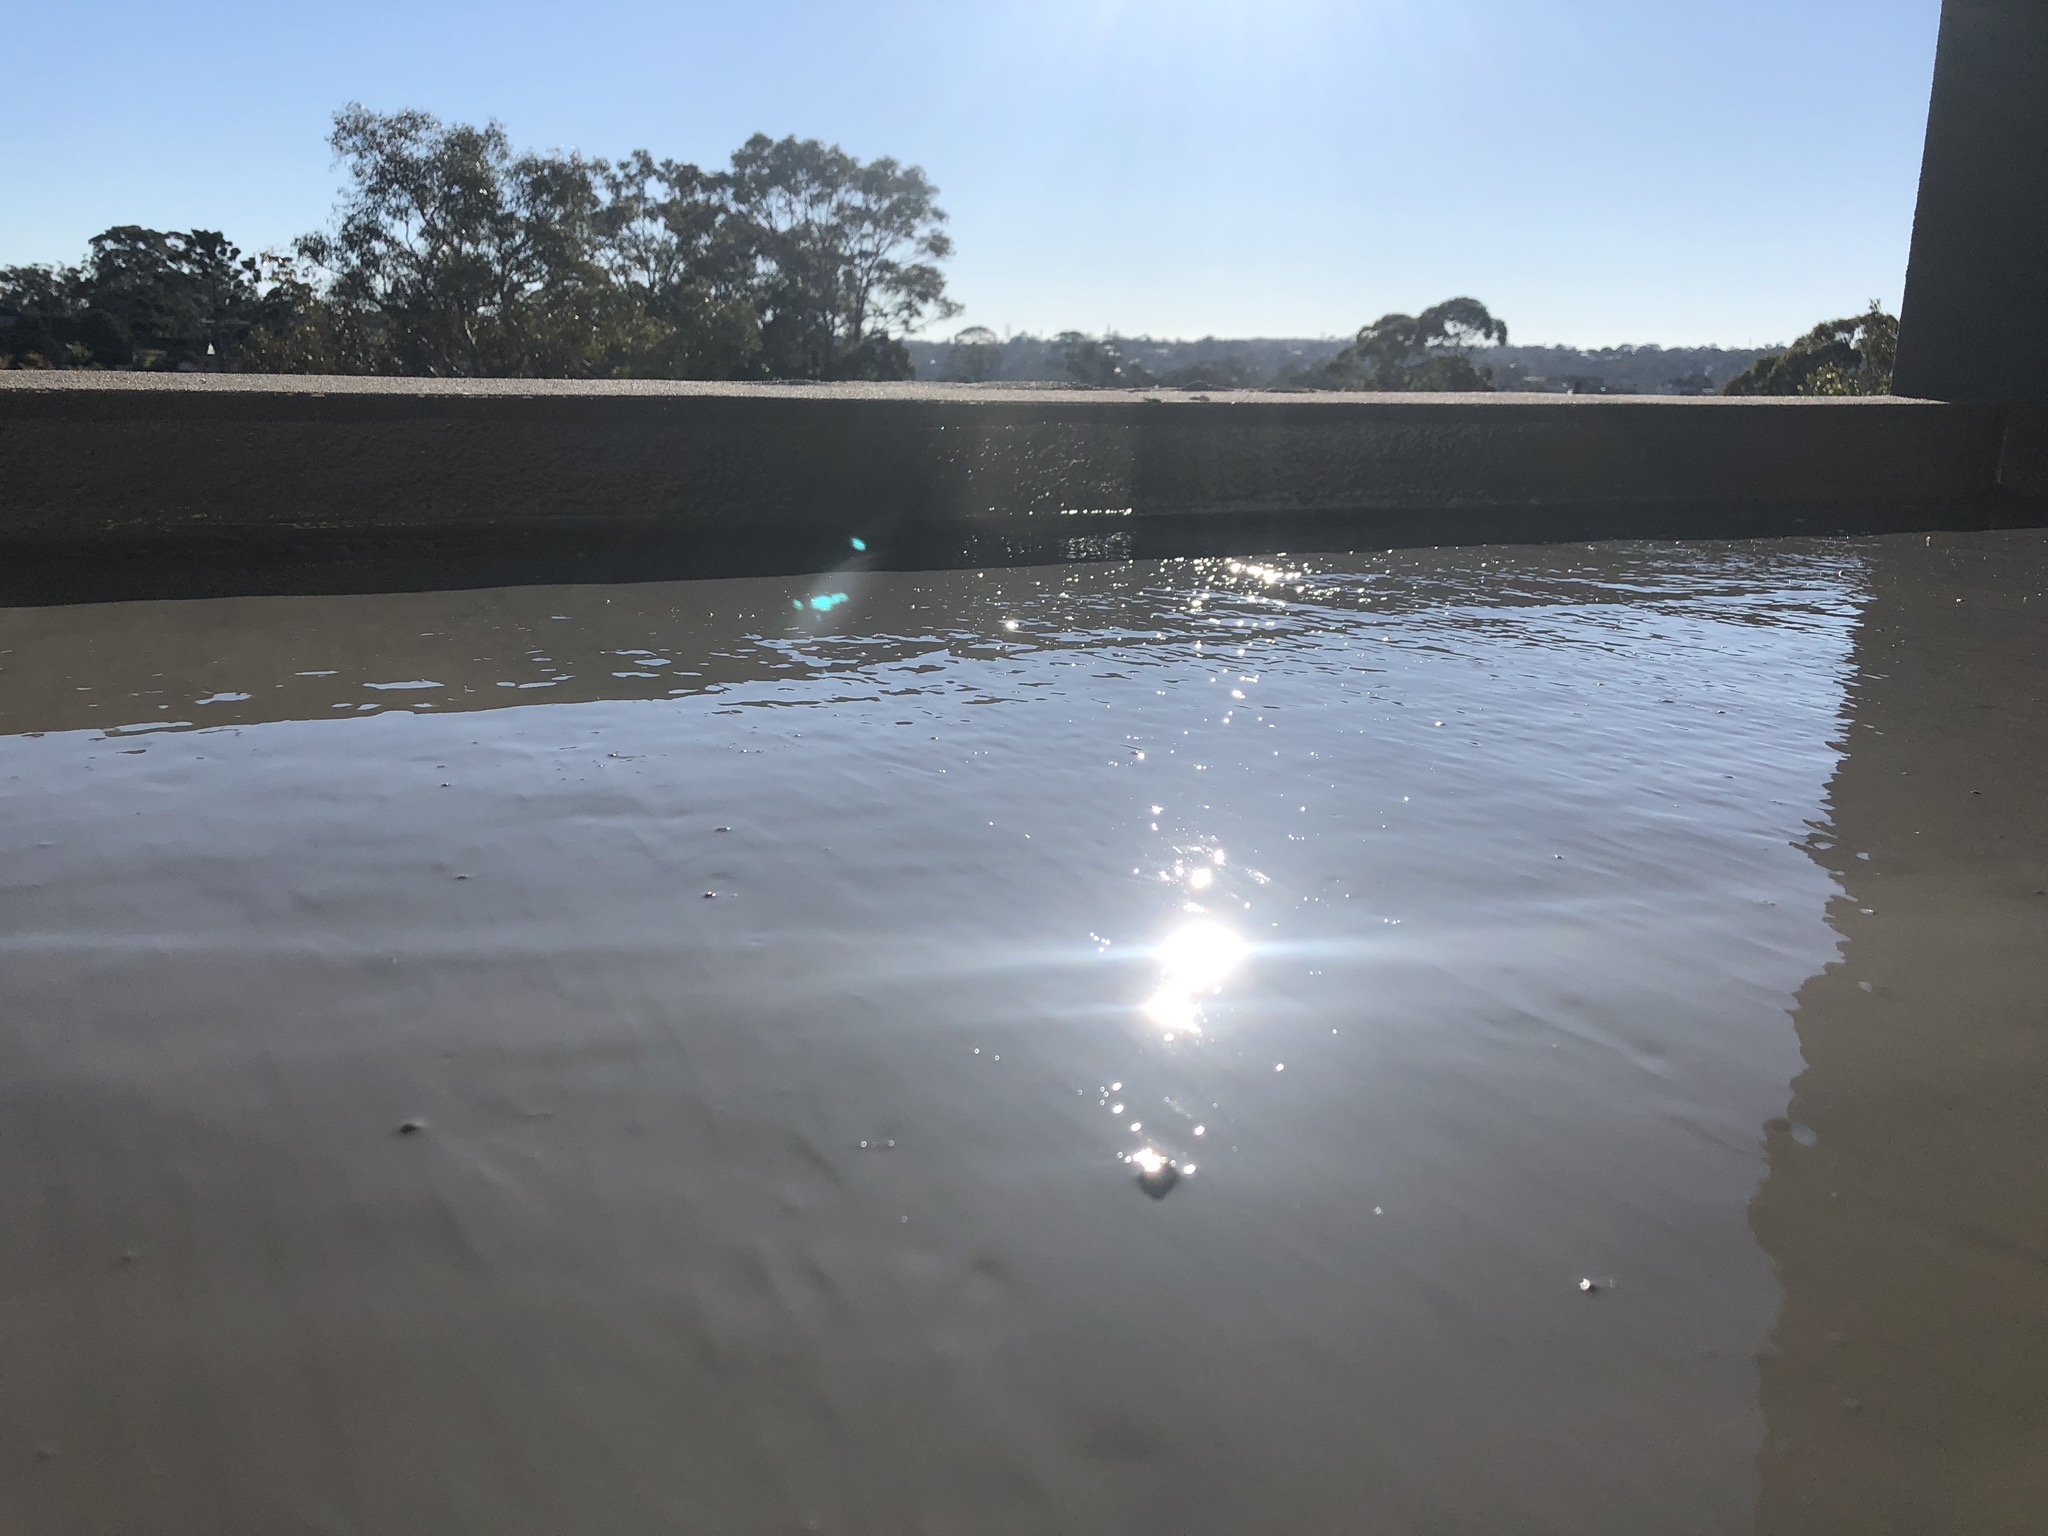
A completed view of a 2nd coat to a polyurethane membrane coated balcony.
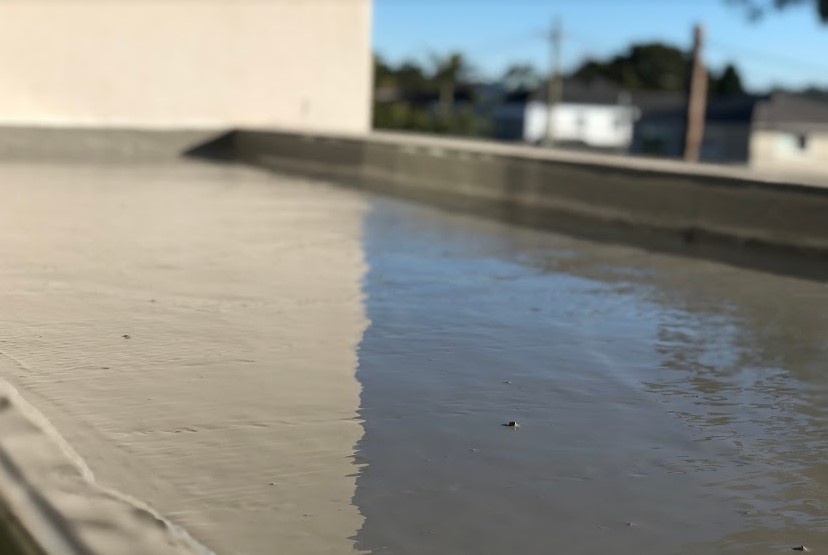
Epoxy coated balcony
2 part epoxy primer used on all balconies.
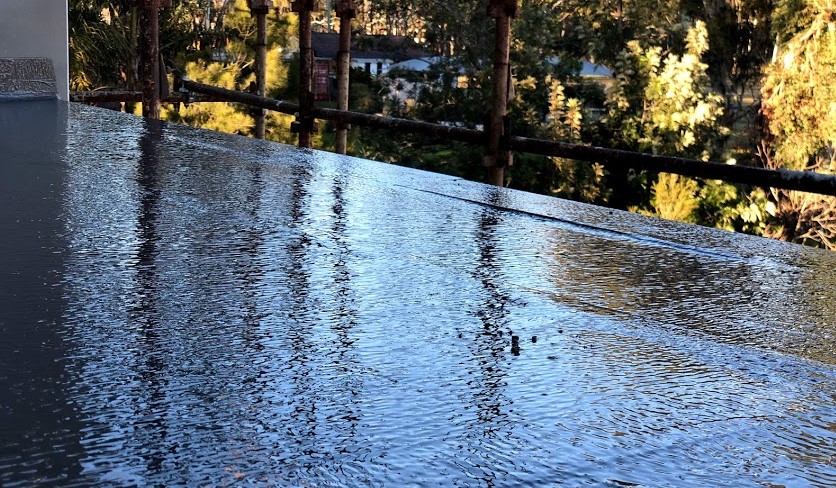
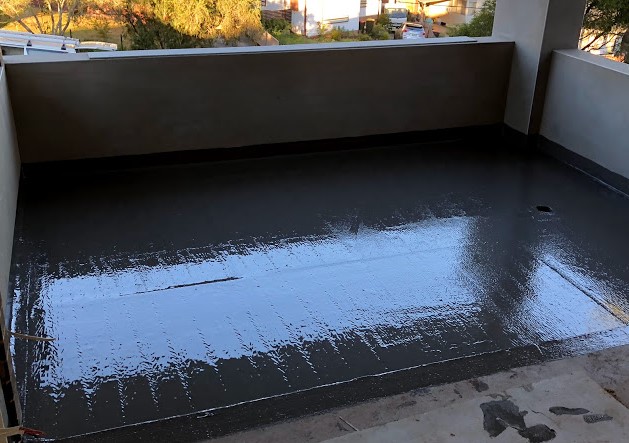
2 x Coats of Polyurethane Membrane
Use of joint sealant on all edges along door seal and / or trim to waterproof in balcony door, 2 x coat of polyurethane membrane.